Are you tired of being disappointed by candle tunnelling, that frustrating phenomenon that prevents you from fully enjoying your candles? Picture this: you light up a candle, and only the centre of the wax around the wick melts and burns down, leaving a ring of untouched wax along the outside.
It's a common occurrence that can leave you feeling like you didn't get the most out of your candle. But fear not! In this guide, we'll unravel the secrets of candle tunnelling and show you how to fix it once and for all.
Get ready to light up beautiful, evenly burned candles and maximise your enjoyment. Let's dive in!
What is Candle Tunnelling?
Candle tunnelling refers to the frustrating phenomenon where a candle burns straight down the middle, leaving a thick wall of unburned wax along the sides. It looks like a tunnel, hence the name. This wastes precious candle wax and prevents you from enjoying the full beauty and fragrance of the candle.
Causes of Candle Tunnelling
Understanding the causes of candle tunnelling is the first step in preventing it. The primary culprits behind tunnelling include:
- Improper Burning: If you only burn a candle for a short period, the wax melts in a small pool, creating a memory ring. Over time, the candle will continue to burn within this ring, leading to tunnelling.
- Drafts: Strong drafts or air currents around the candle can cause uneven burning, leading to tunnelling. It's essential to place your candles away from open windows, vents, or fans.
How to Avoid Candle Tunnelling
Prevention is vital when it comes to avoiding candle tunnelling. Here are some tips to help you burn your candles evenly and make the most of their burn time:
- Allow Sufficient Burn Time: When you light a candle, make sure to burn it long enough for the entire top layer of wax to melt. As a general rule, let the candle burn for at least one hour for every inch in diameter. This ensures a wide pool of melted wax and prevents tunnelling.
- Trim the Wick: Before lighting your candle, always trim the wick to about 1.5cm. This helps control the flame's size and reduces the risk of soot and uneven burning.
- Create a Draft-Free Environment: Place your candle on a stable surface away from drafts or air vents. This ensures a consistent burn and helps prevent tunnelling.
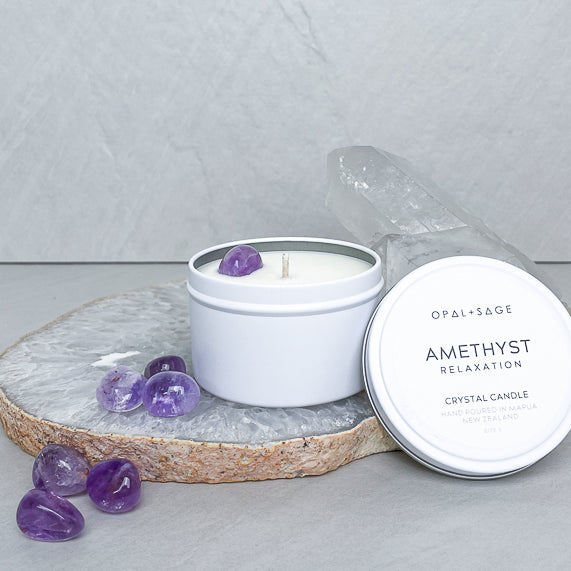
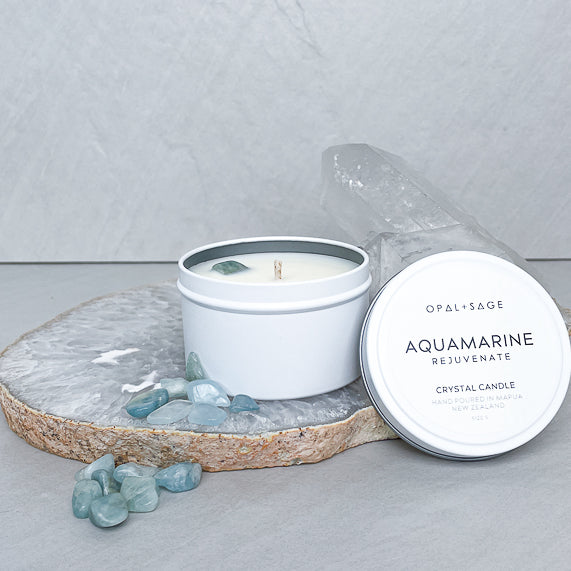
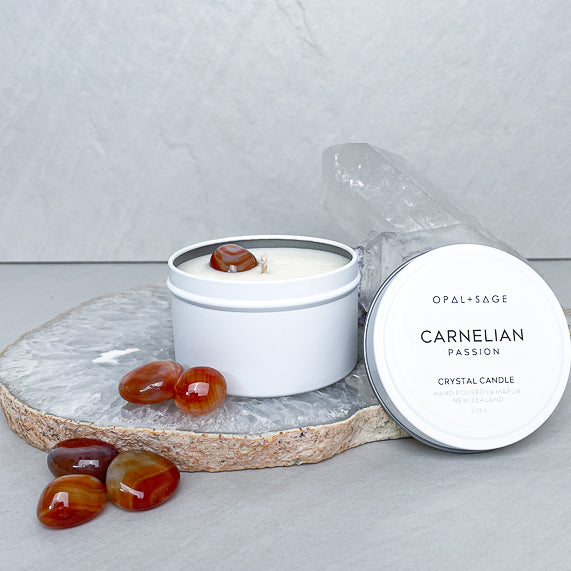
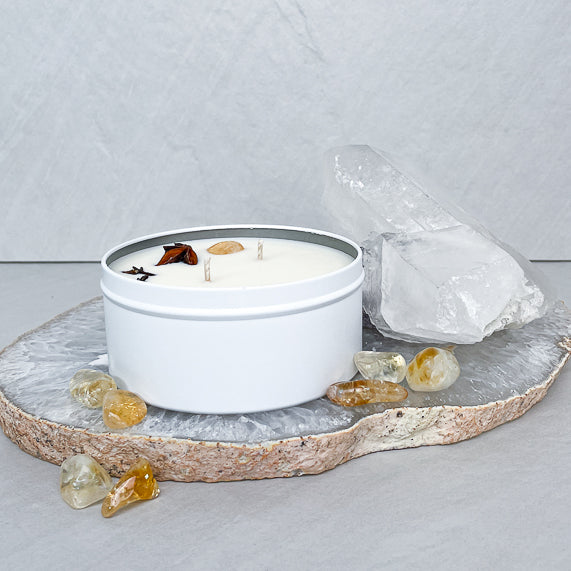
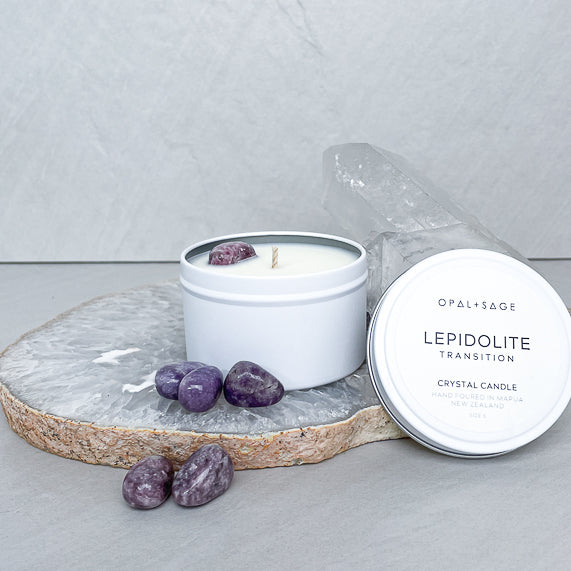
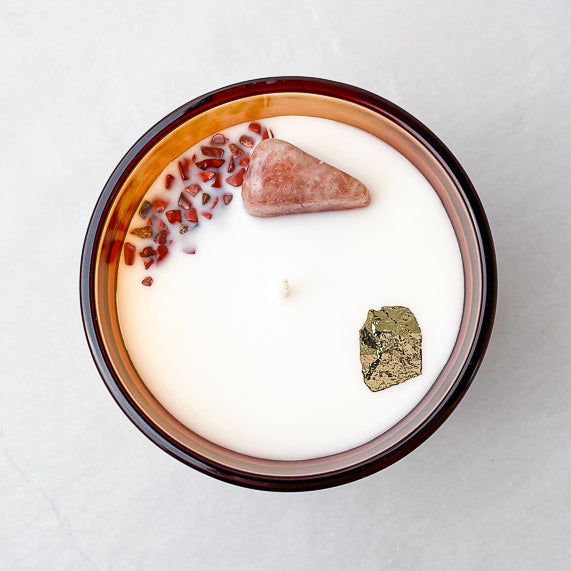
- Remove your crystal: Sometimes, the crystals in our candles can disrupt this burning pattern by either blocking the burn to the edge or sinking onto the wick. To get the most out of your candle, carefully remove your crystal during its first burn and place it next to your candle. You'll still enjoy your crystals' emanating energy while getting the most out of your candle!
Candle Memory and First-Time Burning:
Did you know that candles have a memory? The first burn is crucial to ensure your candle burns evenly throughout its lifespan. Here's how to properly burn a candle for the first time:
- Patience is Key: Allow your candle to burn until the entire surface has melted into a pool of liquid wax. This usually takes a few hours, depending on the candle's size. Remember, the melted wax should reach the edges of the container.
- Avoid Snuffing Too Soon: Extinguish your candle only after the wax fully melts to the edges. This creates a memory for future burns and prevents tunnelling.
Fixing a Tunnelling Candle
If you've discovered a candle tunnel after burning it, don't panic! There are ways to fix it:
- Warm the Sides: Use a hairdryer on low heat or a heat gun to gently warm the sides of the candle container. Rotate the container to ensure even heat distribution. This helps soften the wax and encourages it to burn evenly.
- Use Aluminium Foil: Create a "tent" with aluminium foil and cover the top of the candle, leaving a small opening for airflow. This traps the heat and encourages the sides to melt, correcting the tunnelling issue.
By understanding what causes candle tunnelling and implementing proper burning techniques, you can enjoy your favourite crystal candles' full beauty and fragrance. Remember to allow enough burn time, create a draft-free environment, and give your candles a good first burn. And if tunnelling does occur, fear not, as you now know the tricks to fix it. So, light up those candles and let the cozy ambience fill your space, knowing you've mastered the art of candle burning!


